How to make a beach bag? Easy step-by-step tutorial
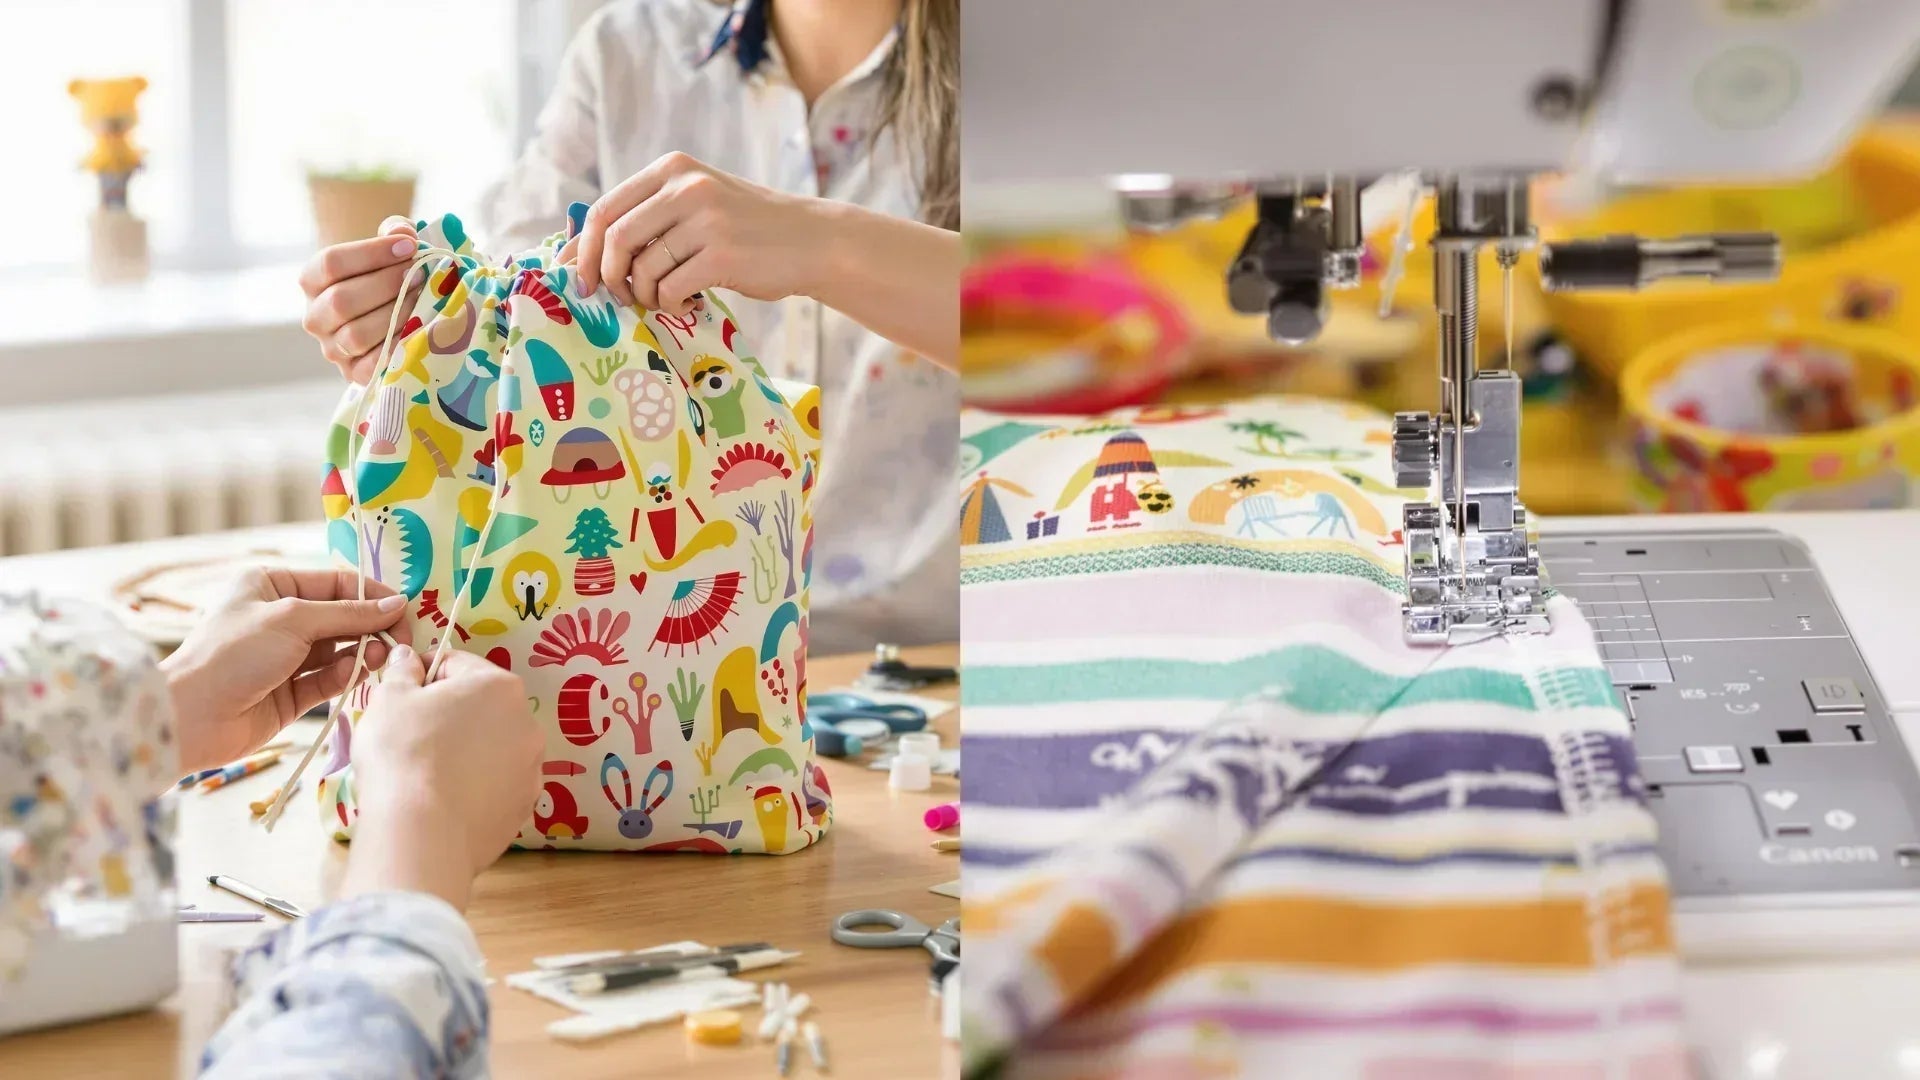
Want to make your own practical, sturdy and stylish beach bag? In this detailed tutorial, discover how to sew a practical and stylish tote bag, perfect for your summer getaways.
You will learn how to make a beach bag with a large inner pocket, sturdy finishes and rope handles for a look that is both functional and trendy.
Whether you 're a beginner at sewing or already used to making your own accessories, this guide will accompany you step by step to create and make your own handmade, personalized beach bag, ready to accompany you everywhere this summer by the sea!
Also check out our beautiful collection of beach bags for all budgets!
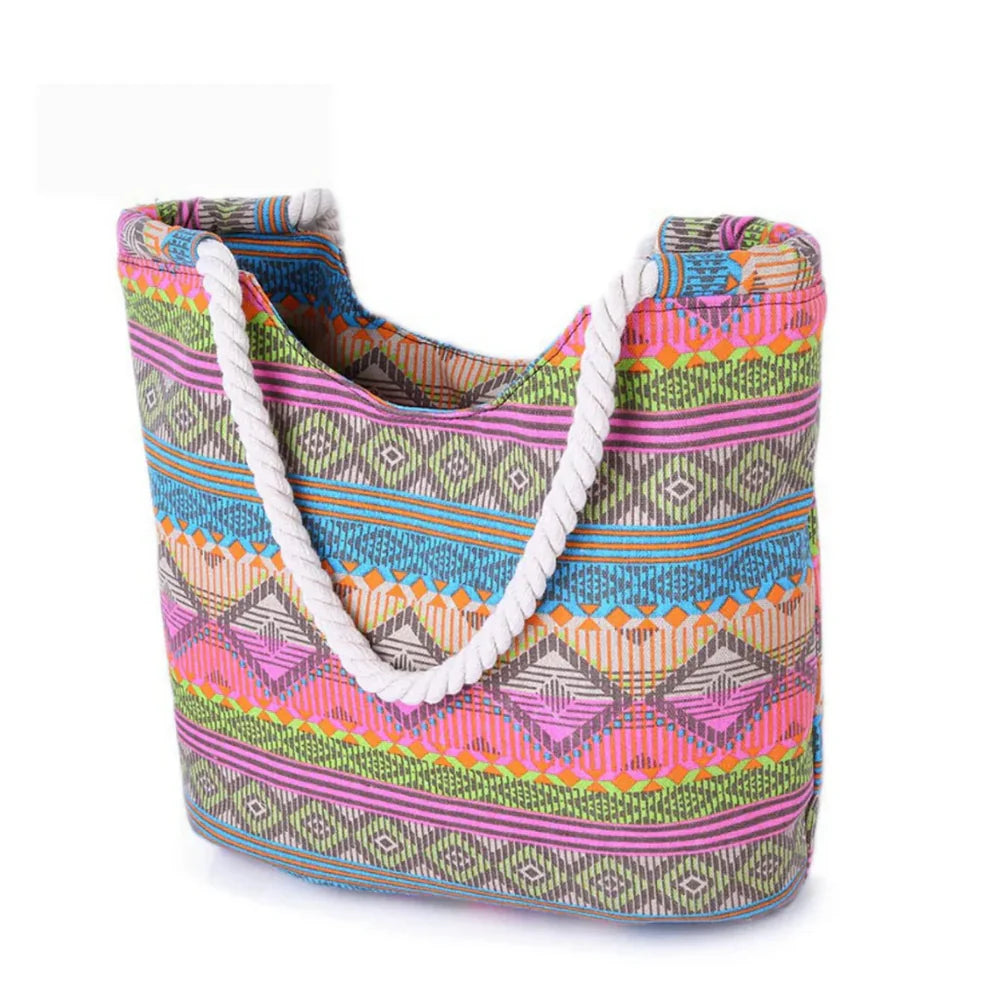
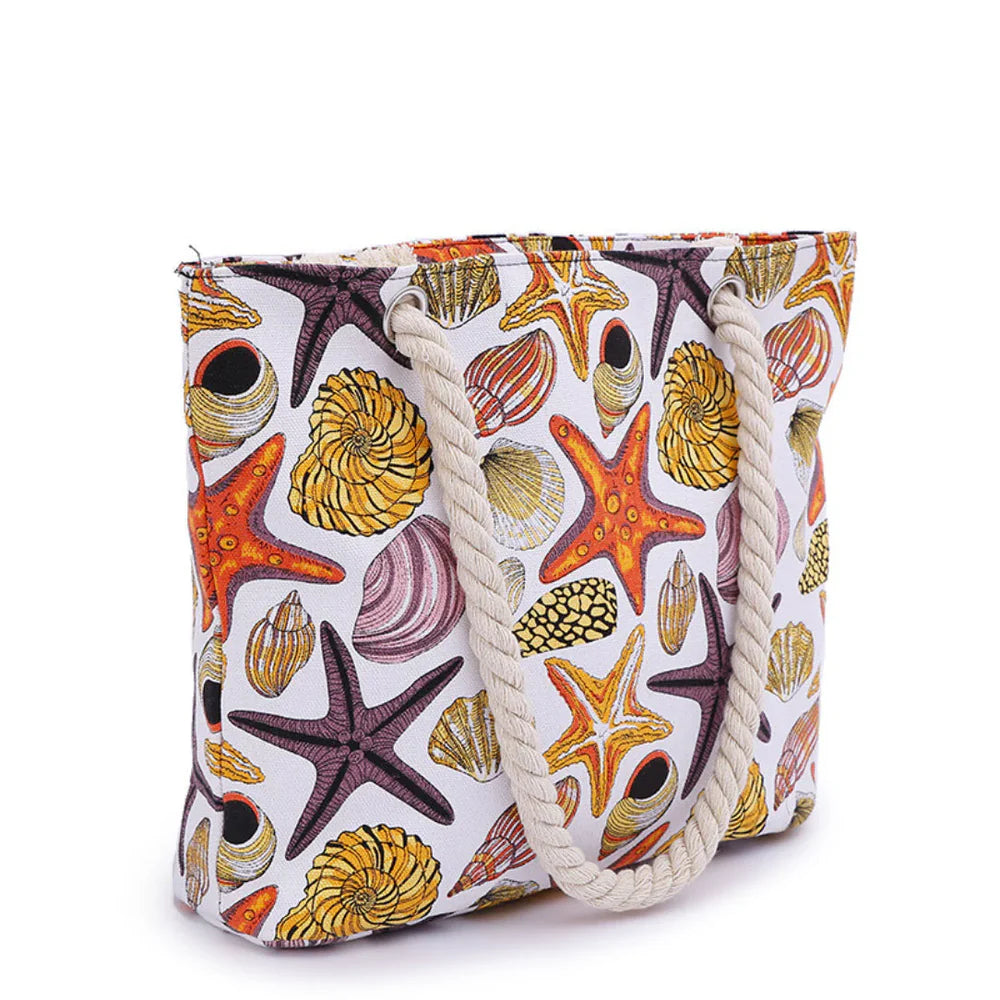
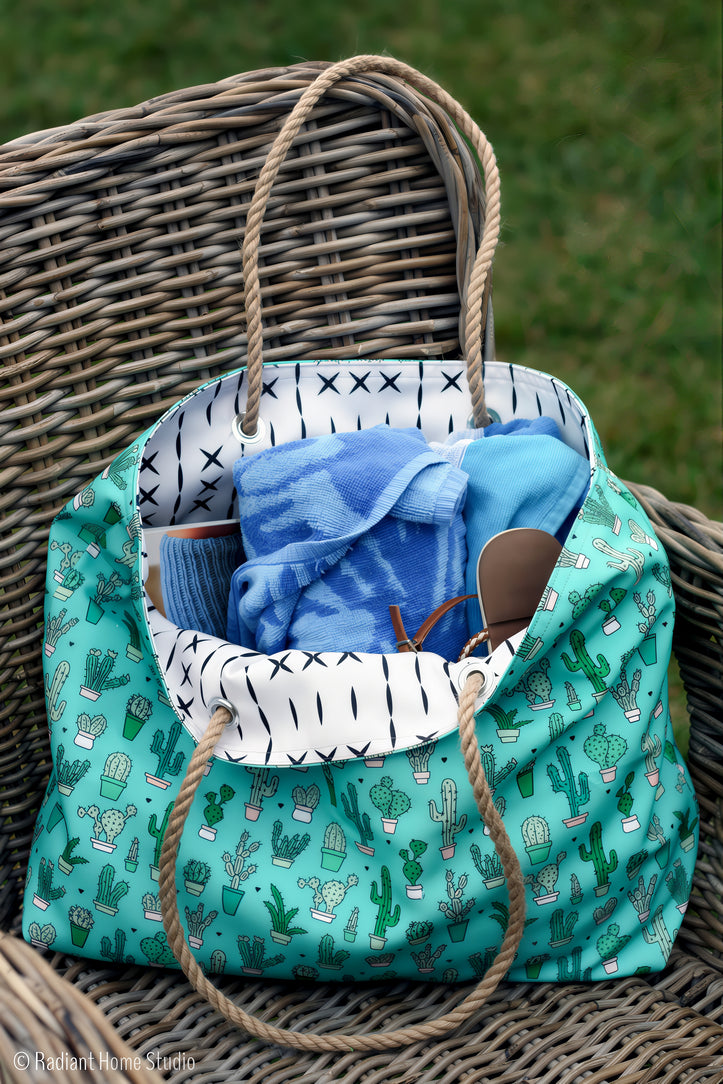
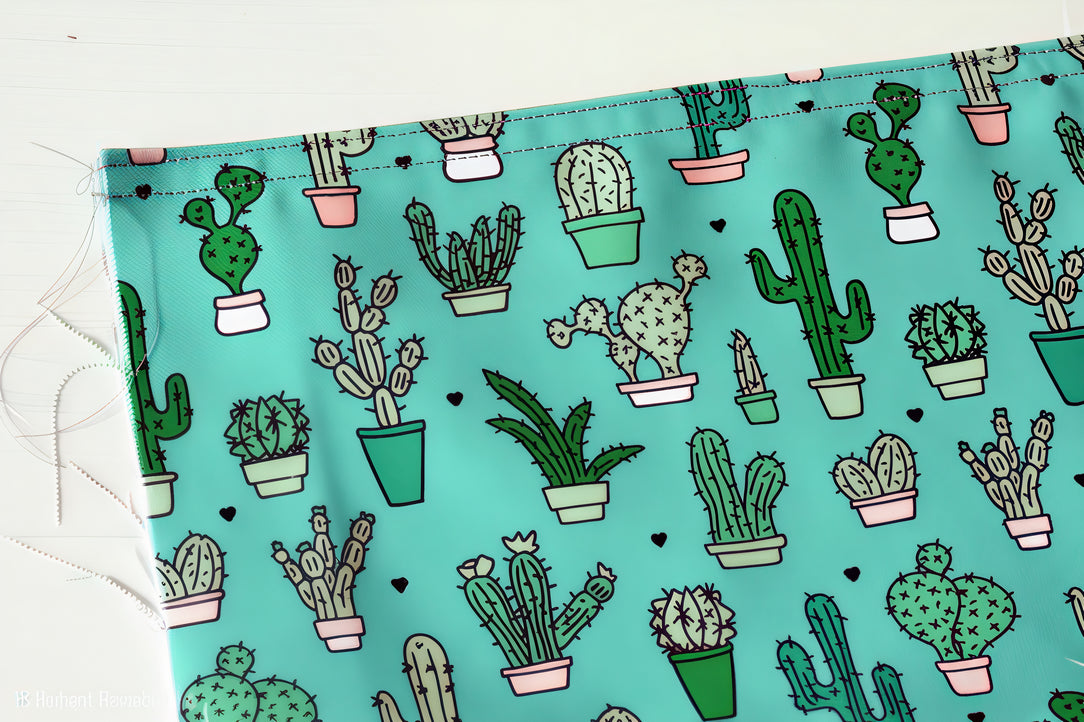
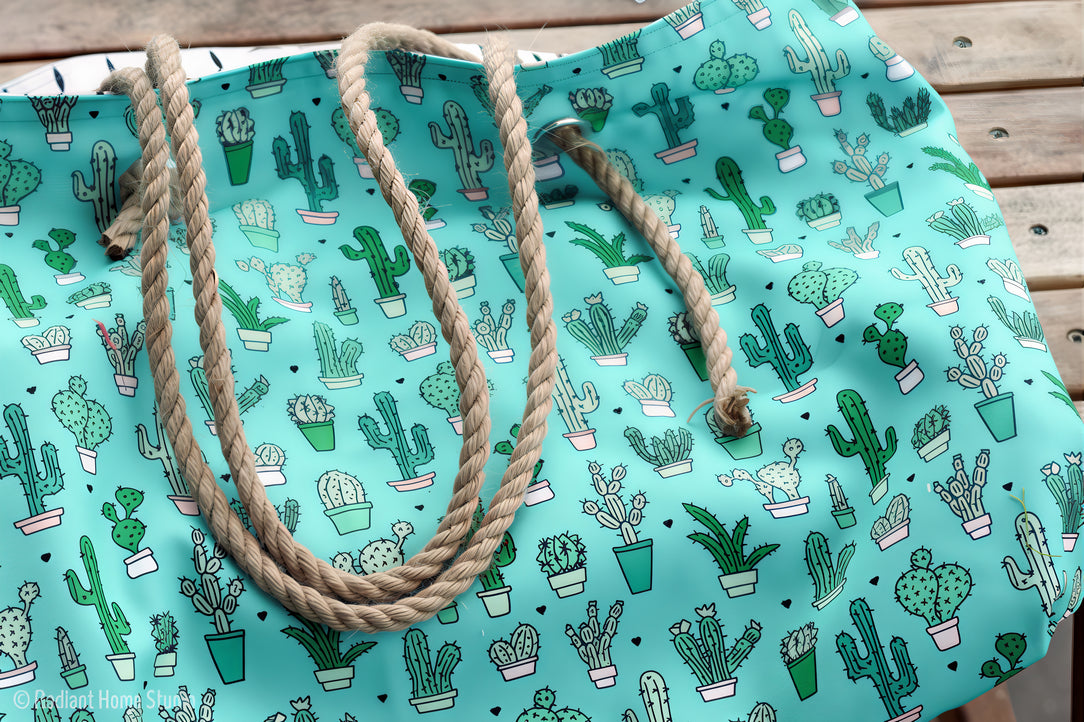
Here is the finished model shown in this tutorial :
You can of course choose the color and type of fabric that suits you to make this beach bag.
Materials needed:
-
Outer fabric : 1 meter of Eco Canvas (or any other material you prefer)
-
Lining : 1 meter of Eco Canvas
-
Rope : 2 meters of 6 mm diameter (1/4") rope
-
Matching thread (ideally the same color as the fabric)
-
Metal eyelets : 11 mm (7/16") size – optional, you can replace them with buttonholes
-
Hammer : for fixing the eyelets
(You'll also have some extra fabric for a future project!)
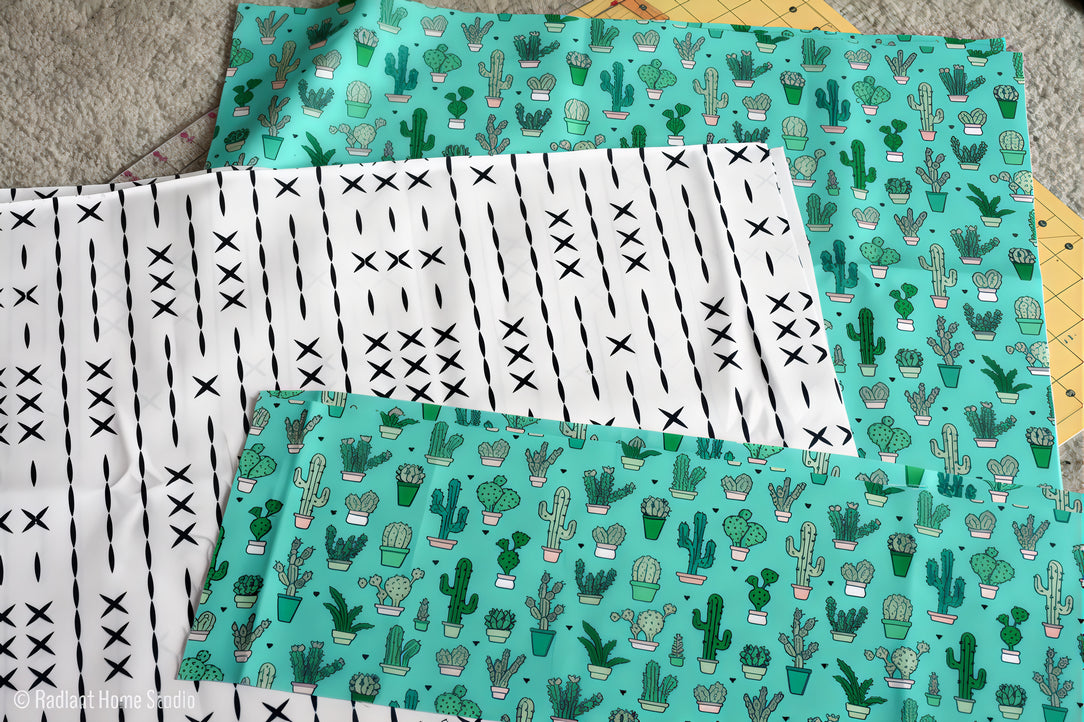
Fabric cutting:
-
Exterior : 2 pieces of 56 cm x 46 cm (22" x 18")
-
Lining : 2 pieces of 56 cm x 46 cm
-
Pocket : 2 pieces of 56 cm x 20 cm (22" x 8")
Final dimensions of the bag:
Approximately 46 cm x 46 cm, with handles 30 cm (12") long.
Remarks :
-
1.25 cm (1/2") seam allowances included.
-
Iron all seams at "synthetic" temperature if you are using Eco Canvas.
Sewing instructions:
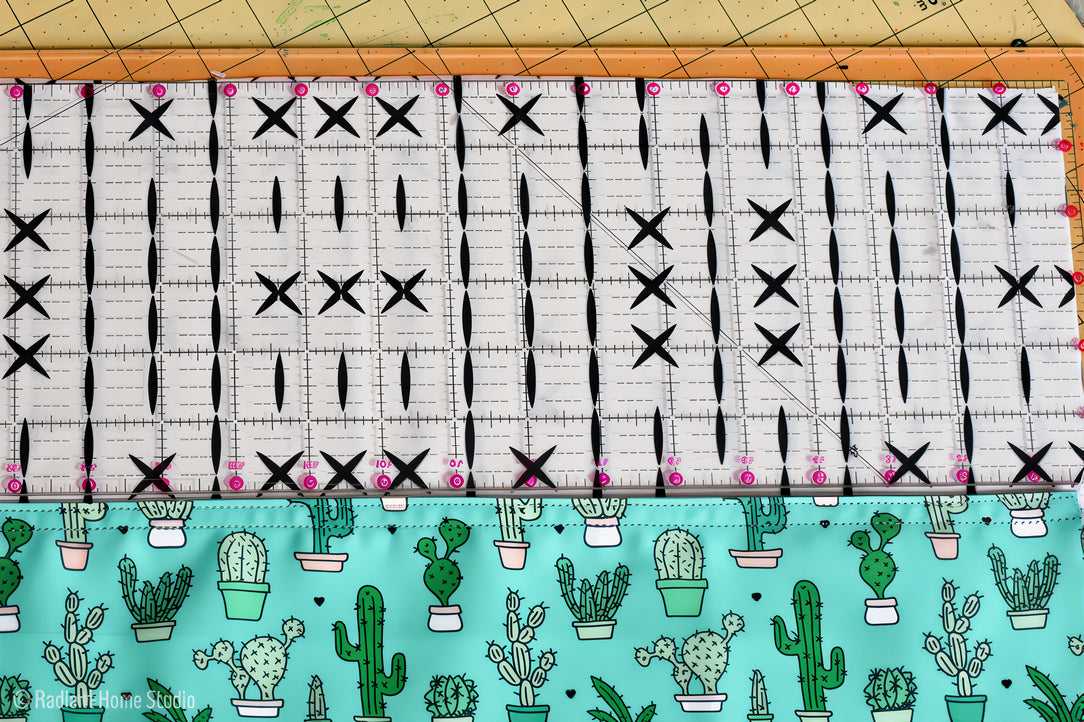
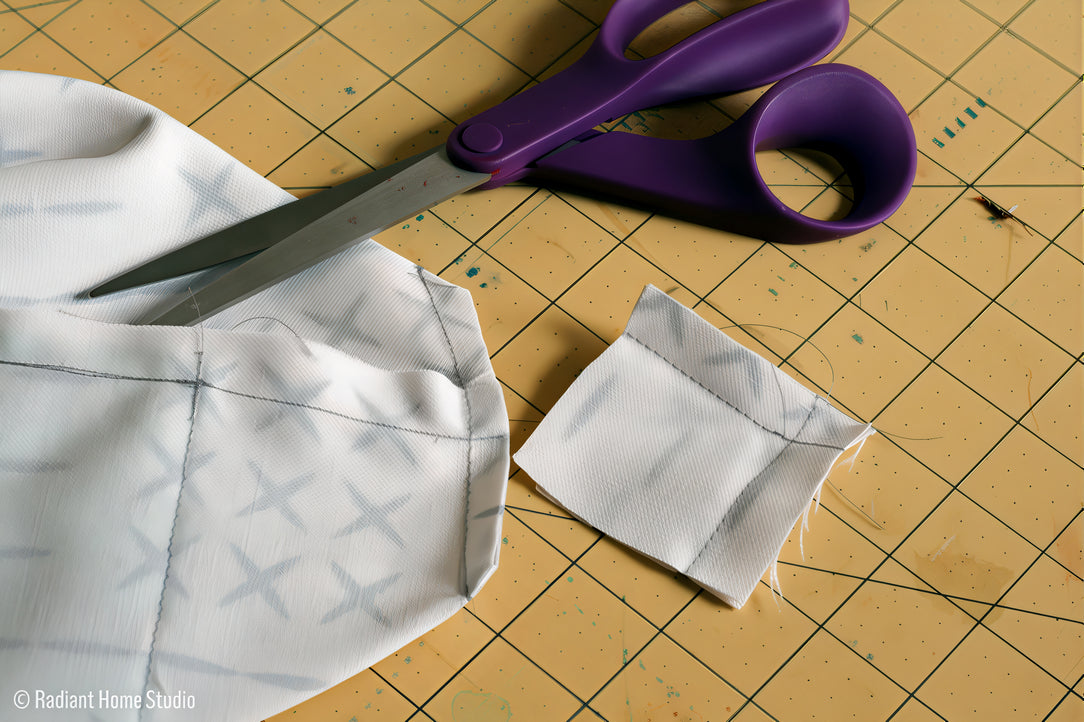
1. Cut out all your pieces according to the measurements given. A rotary cutter and a ruler can be useful to obtain straight lines.
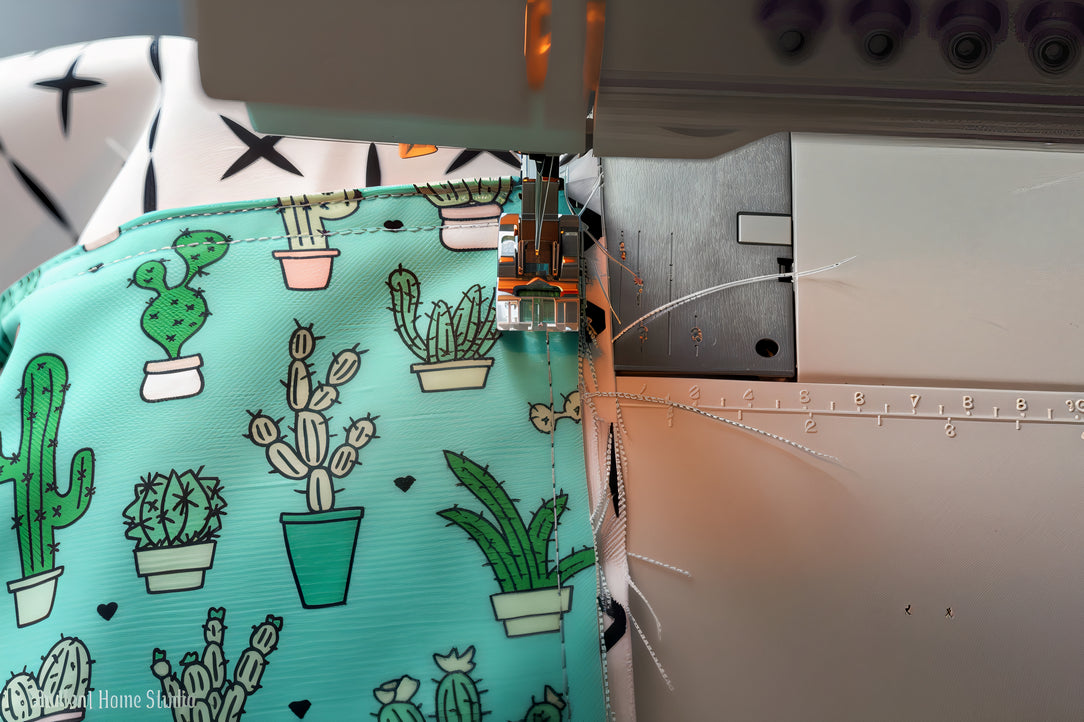
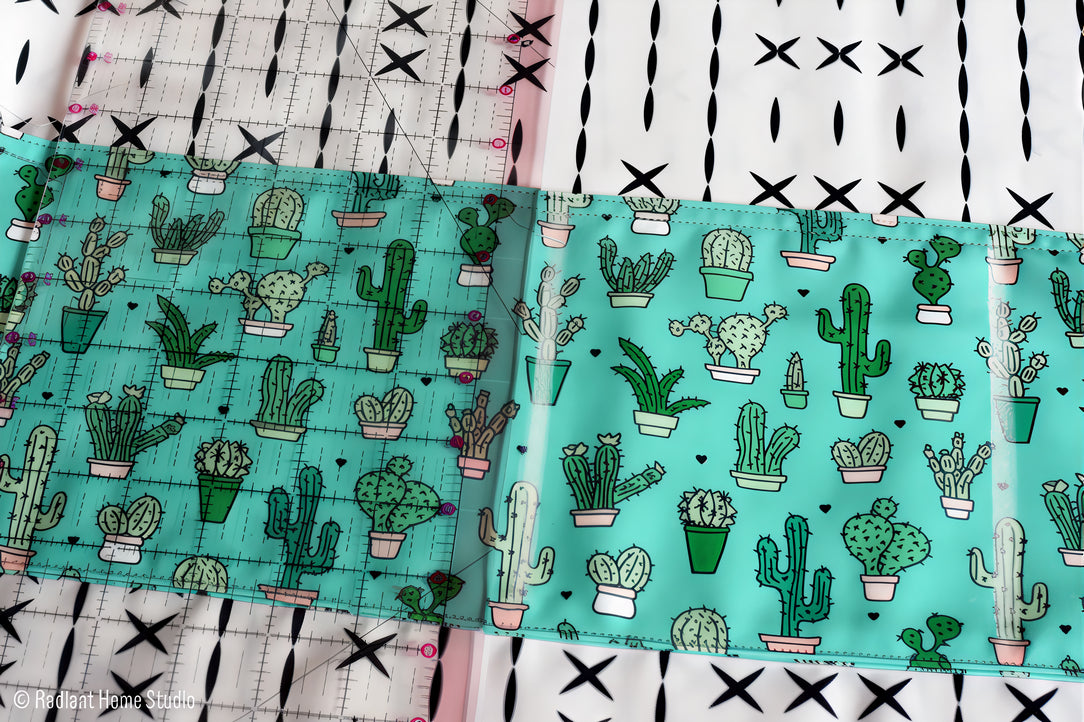
2. Assembling the pocket : place the two pieces of fabric for the pocket, right sides together (pattern side) and sew the two longer lengths, leaving the short sides open.
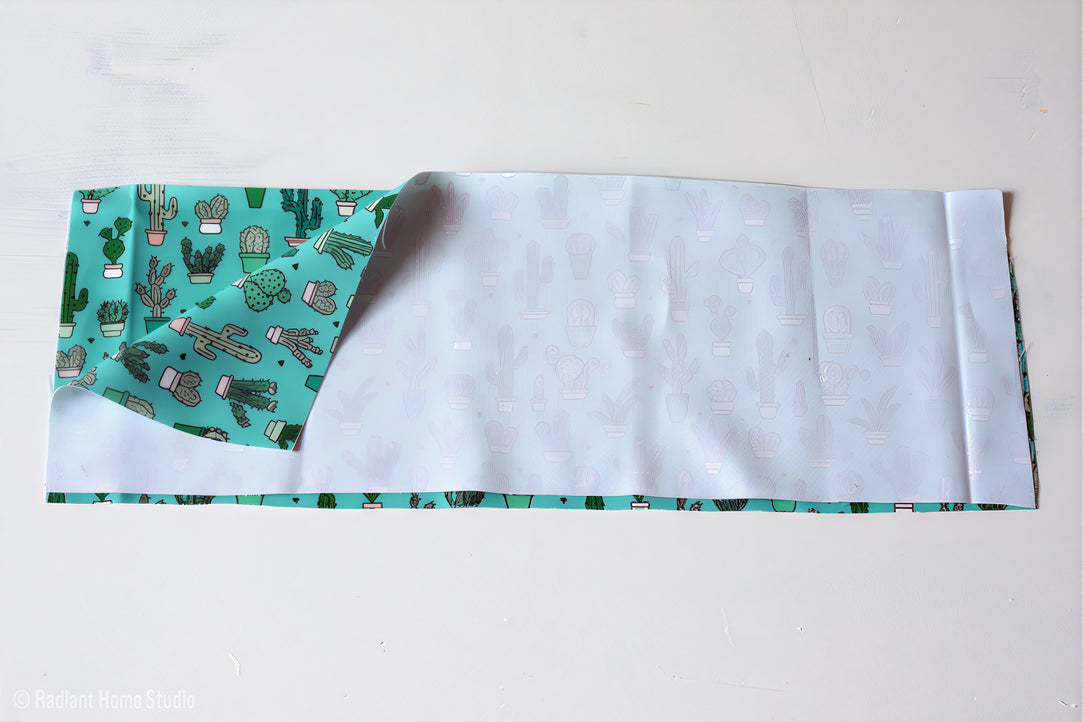
3. Turn the pocket over to the pattern side and flatten everything carefully.
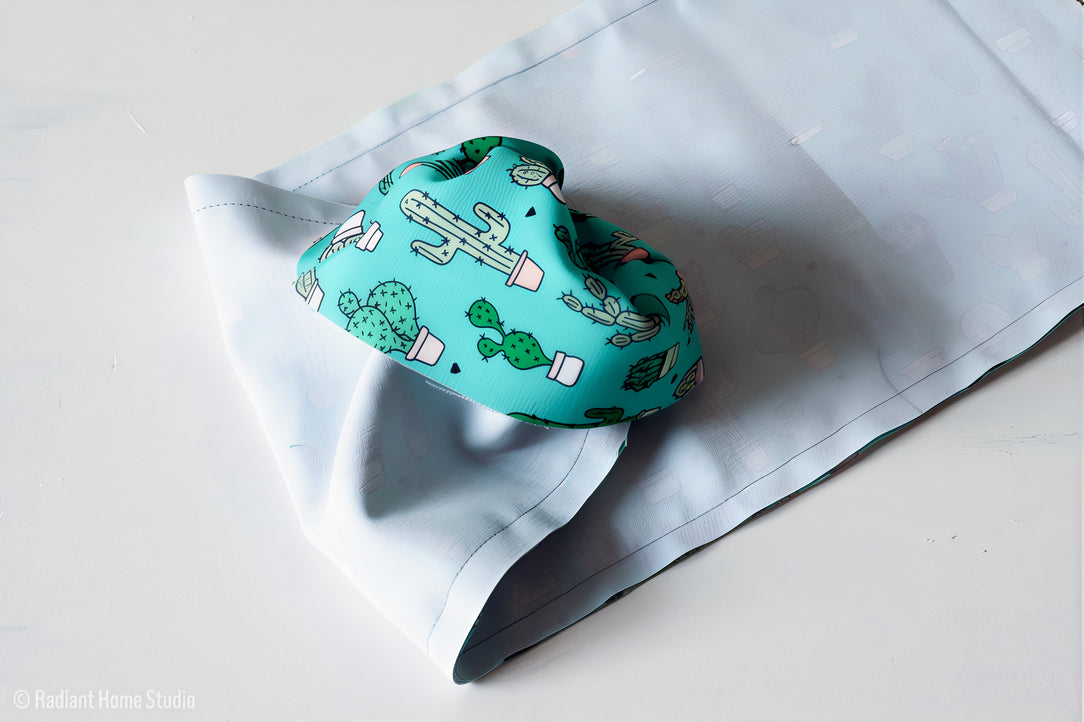
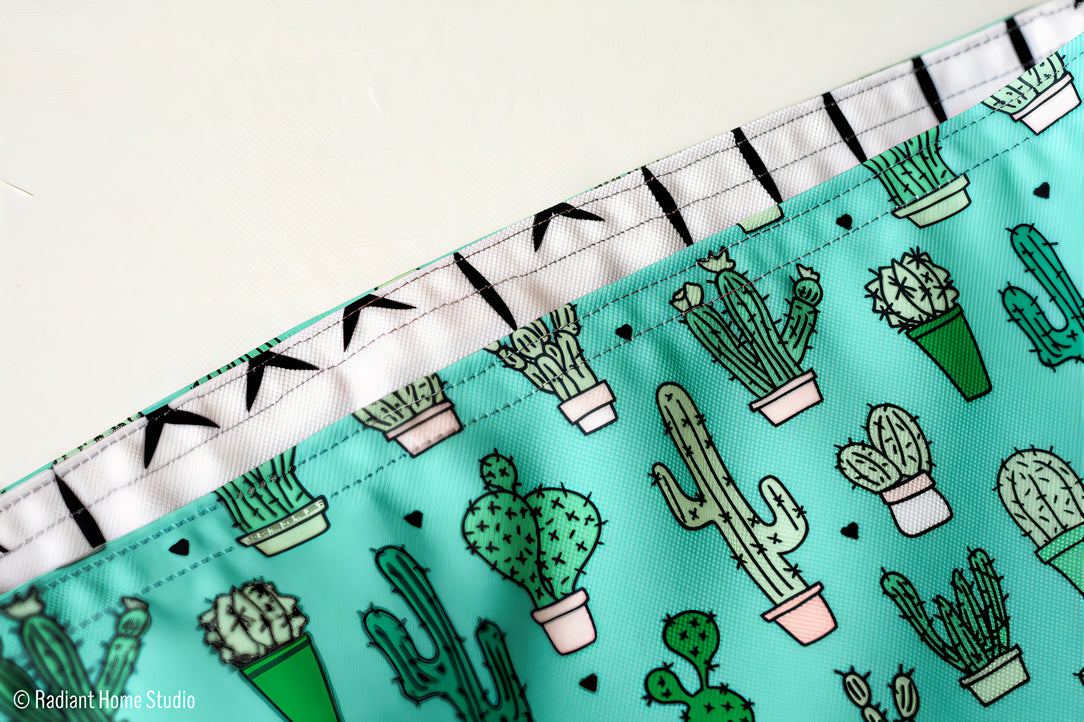
4. Topstitch the top edge of the pocket 3 mm (1/8") and 1 cm (3/8") from the edge.
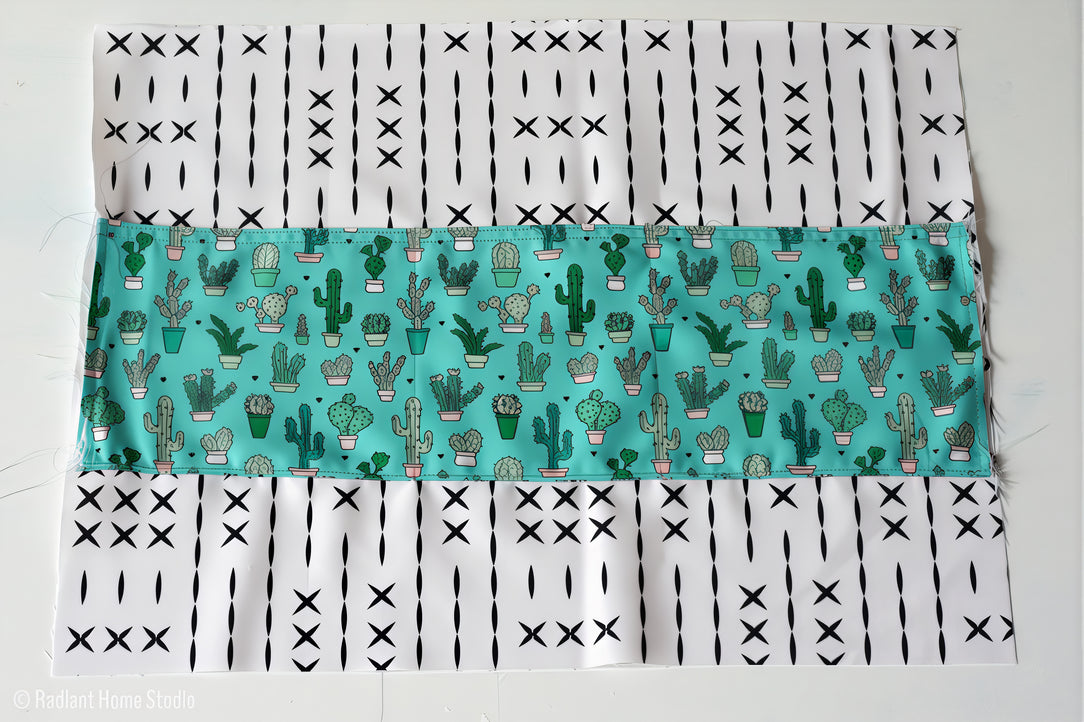
5. Position the pocket, once sewn onto the lining piece, 15 cm (6") from the top edge
6. Secure the sides of the pocket to the lining with a stay stitch 6 mm (1/4") from the edge.
7. Sew the bottom of the pocket to the lining, always on the right side (pattern).
8. Divide the pocket into 3 compartments : draw two equidistant vertical lines, then stitch from bottom to top, making a stop stitch at the top.
9. Stitch along the lines, from the bottom of the pocket to the top of the pocket to avoid creases, topstitching the top edges to secure the seam.

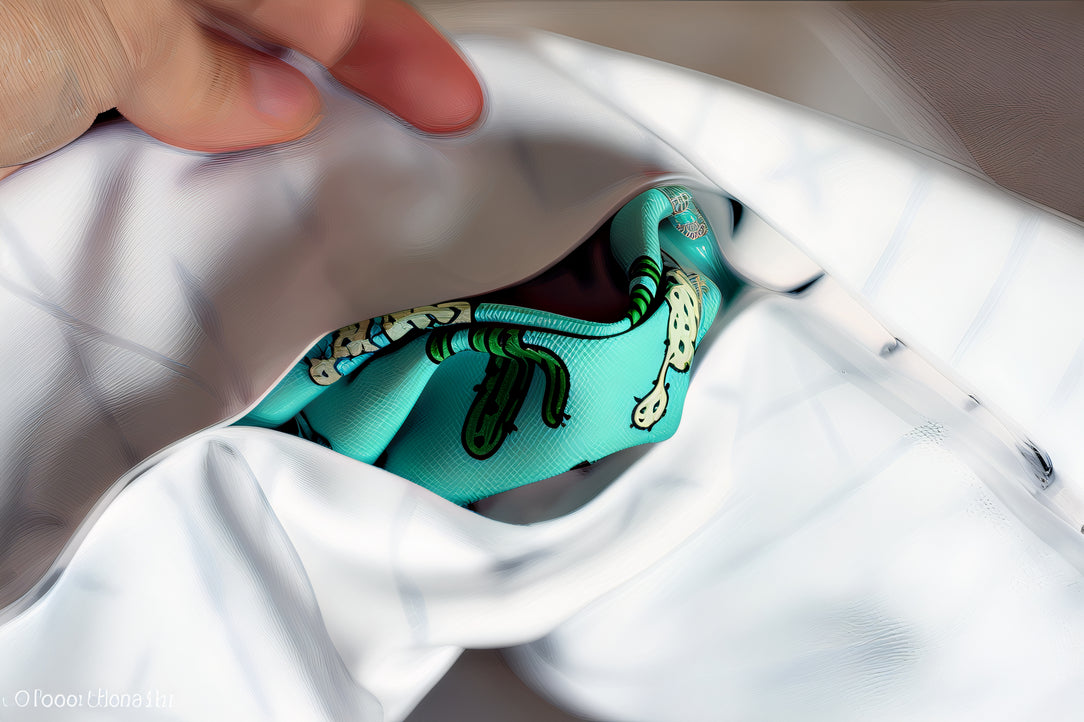
Once this is done, one side of your lining should now look like this...
You can repeat the pocket instructions for the other side of the lining if you prefer more pockets.
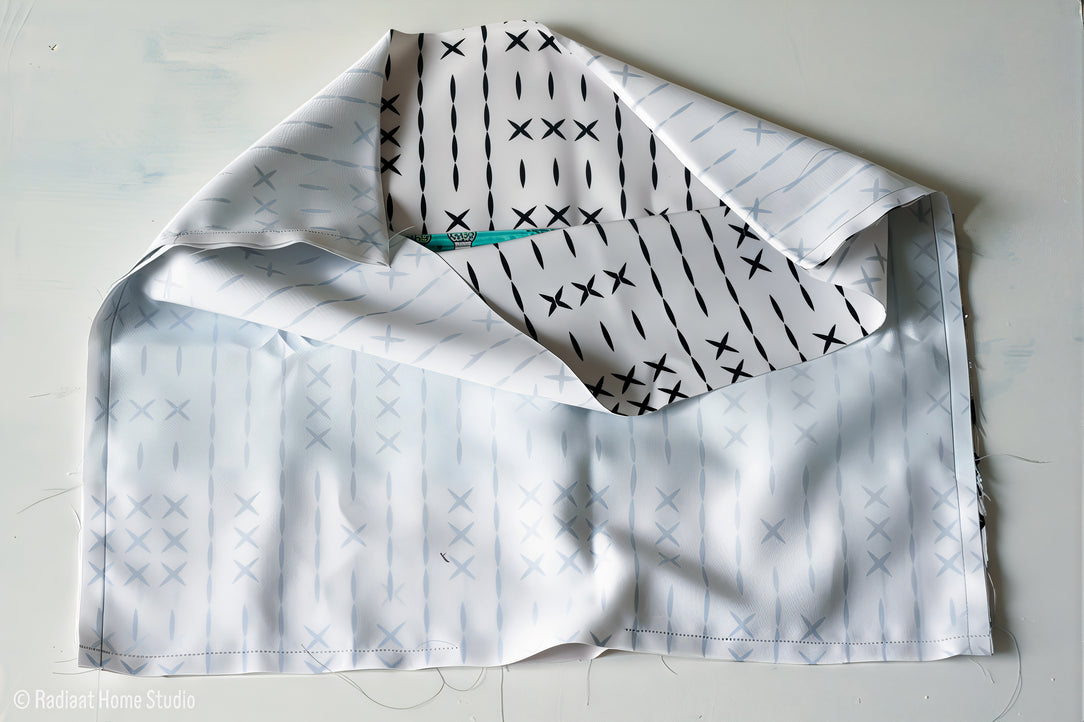
10. Place the lining pieces right sides together (patterned side if your lining has one). Check the orientation of your pocket to determine the top of the bag. Sew the other 3 sides, leaving an 8 cm opening at the center of the bottom of the bag.
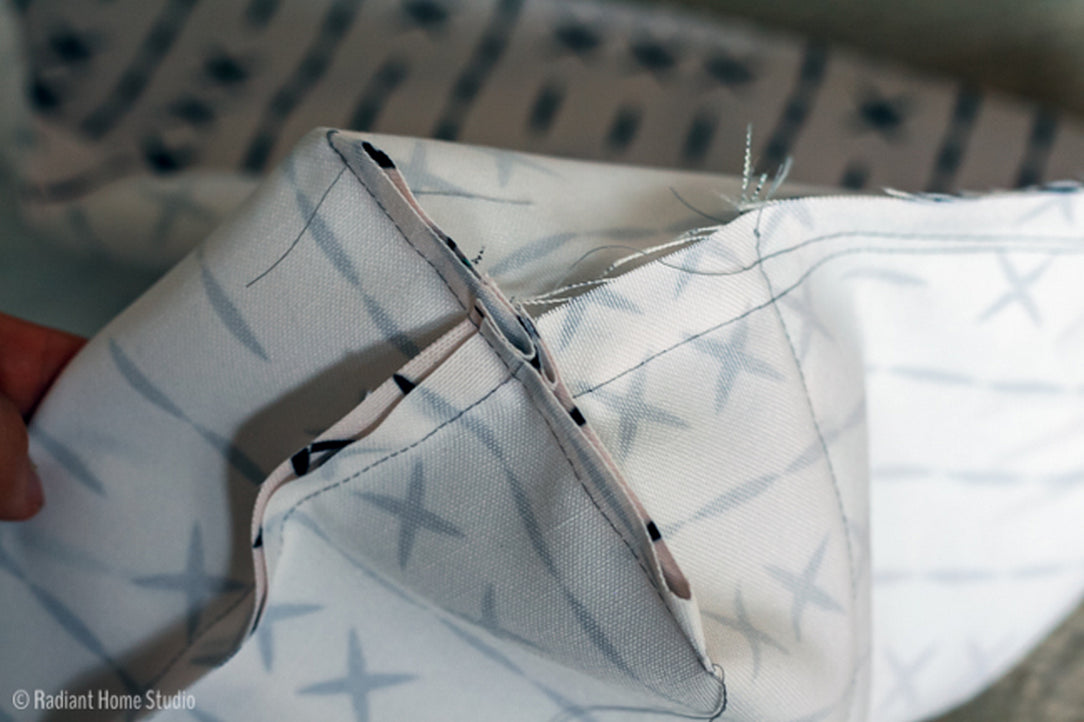
11. Flatten the bag so that the side seam and the bottom seam are aligned. At each corner, measure 5 cm inwards and draw a line. Repeat on the other side.
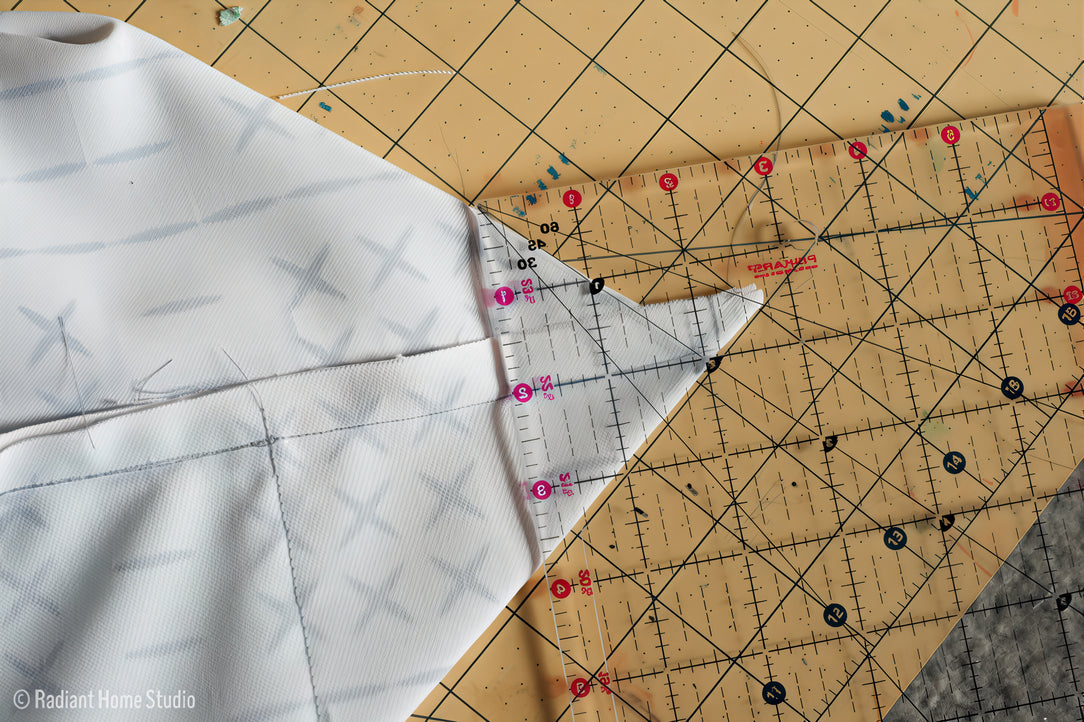
12. Sew along the lines in the corner of each bag, topstitching at each end. Trim the excess.
You now have a square corner at the bottom of your bag. It should look like this when you open it.
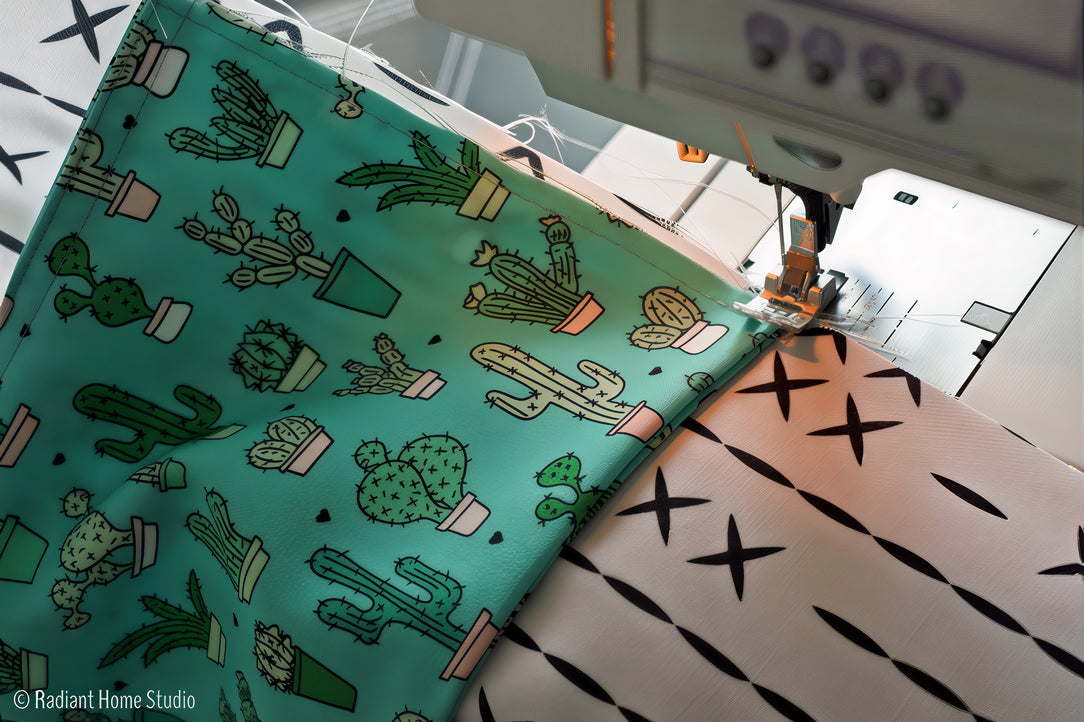
13. Place the outer pieces face to face (pattern side) and sew on 3 sides, leaving one of the 56cm edges open.
Square the corners on the outside as you did for the lining.
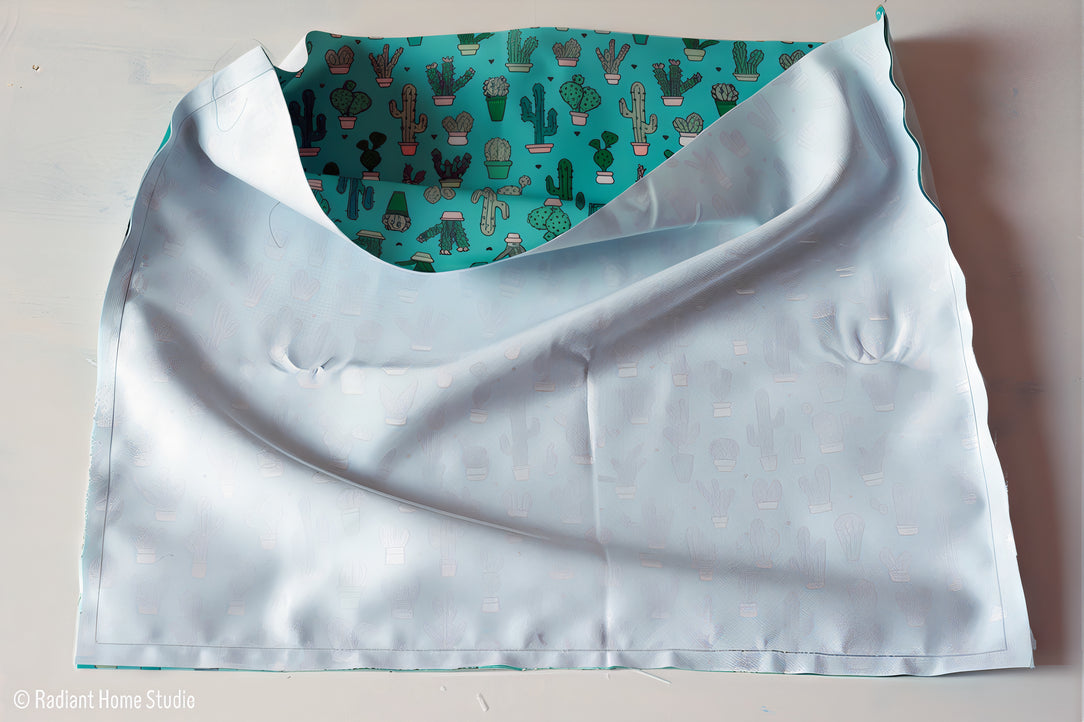
14. Place the outer fabric inside the lining, right sides together. Match the side seams and sew the top edge.
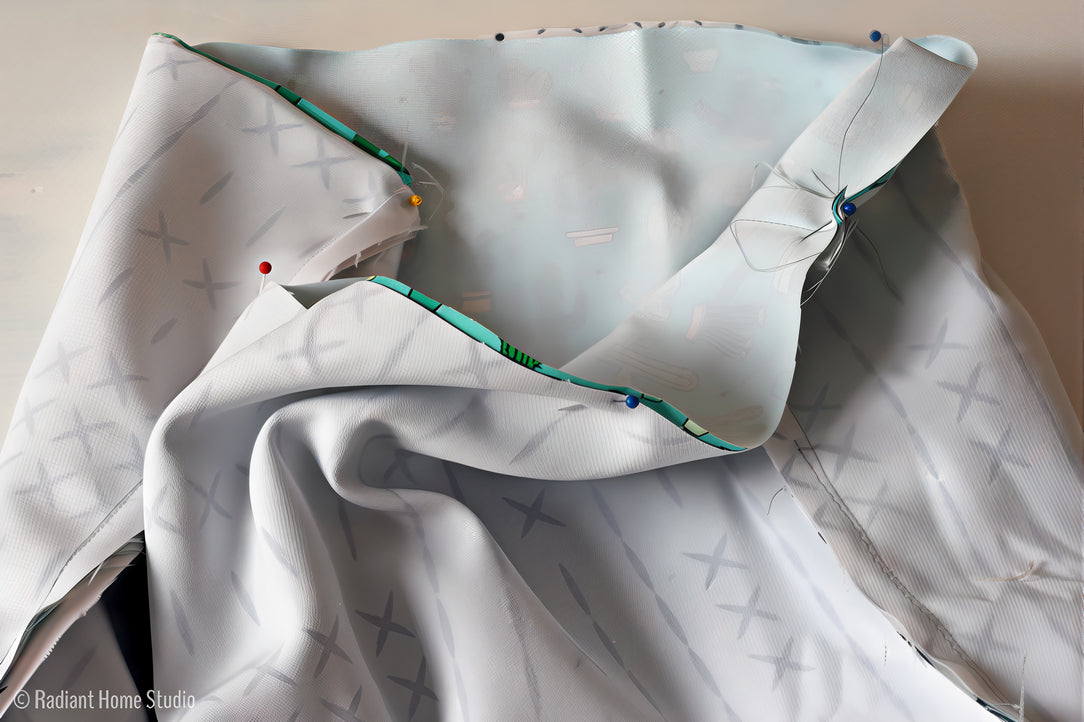
15. Turn the bag right side out through the small opening in the bag lining.
16. Topstitch all around the top edge of the bag 3 mm and 1 cm from the edge.
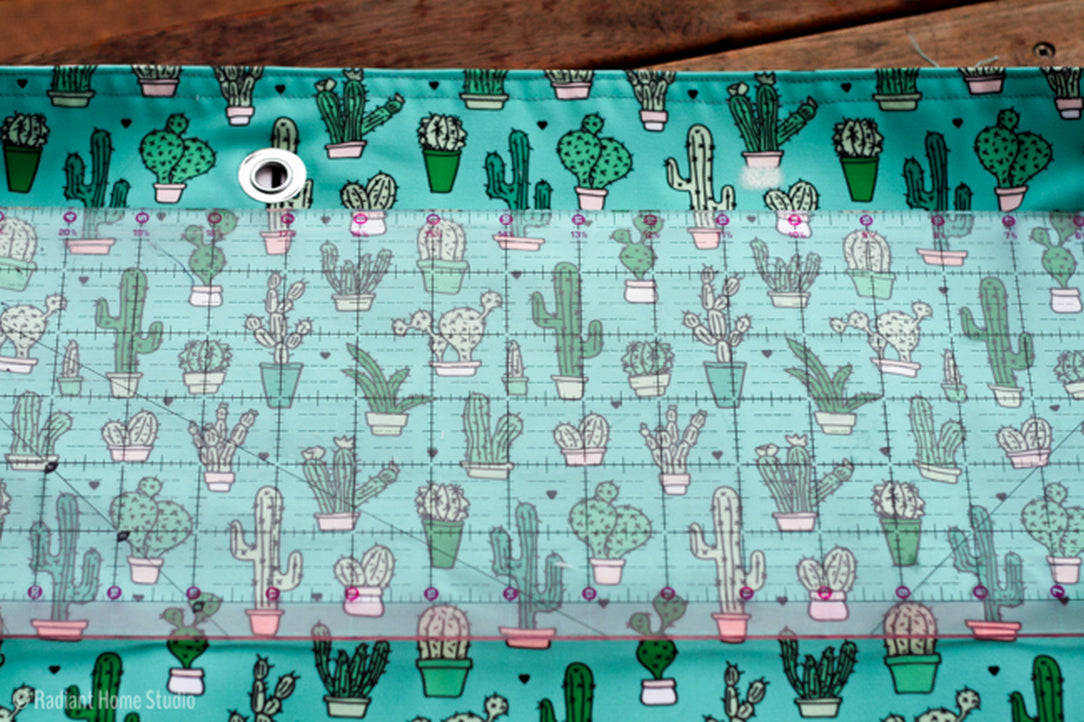
17. Use chalk to mark the location of the eyelets. The holes should be spaced 15 cm apart and centered 4 cm below the top edge.
If you don't want to use eyelets, or if you can't find the right size, you can replace them with buttonholes!
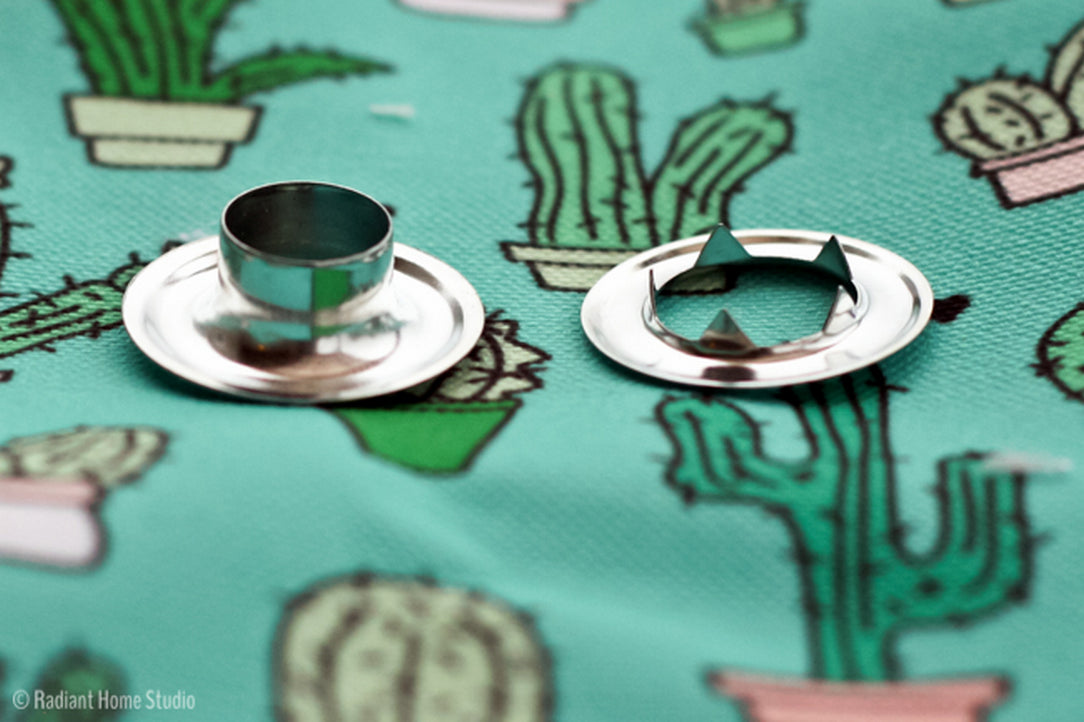
Eyelet kits consist of 4 different types of parts. The tools are the anvil and the adjuster (the long piece).
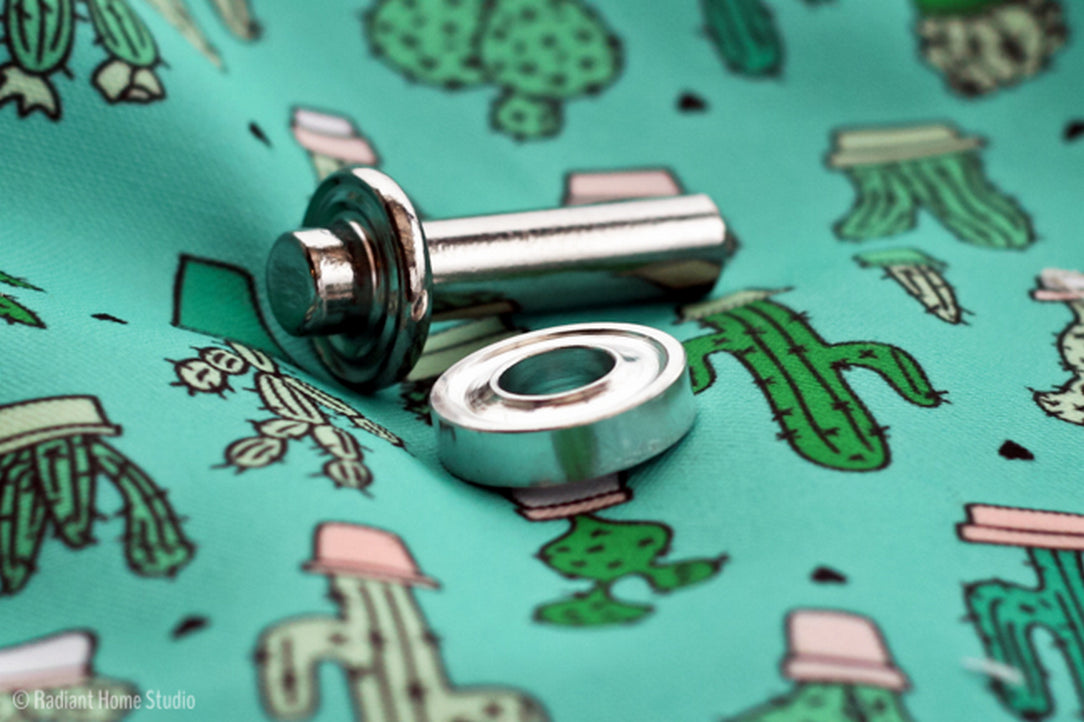
Each eyelet consists of two parts. On the left is the stud and on the right the washer.
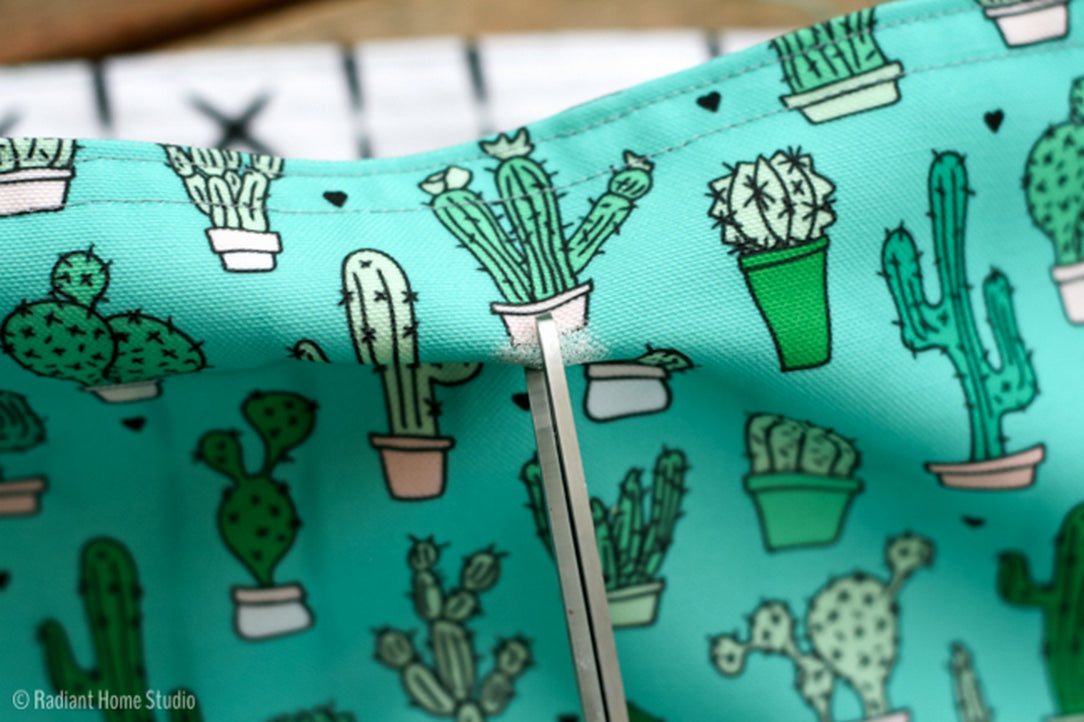
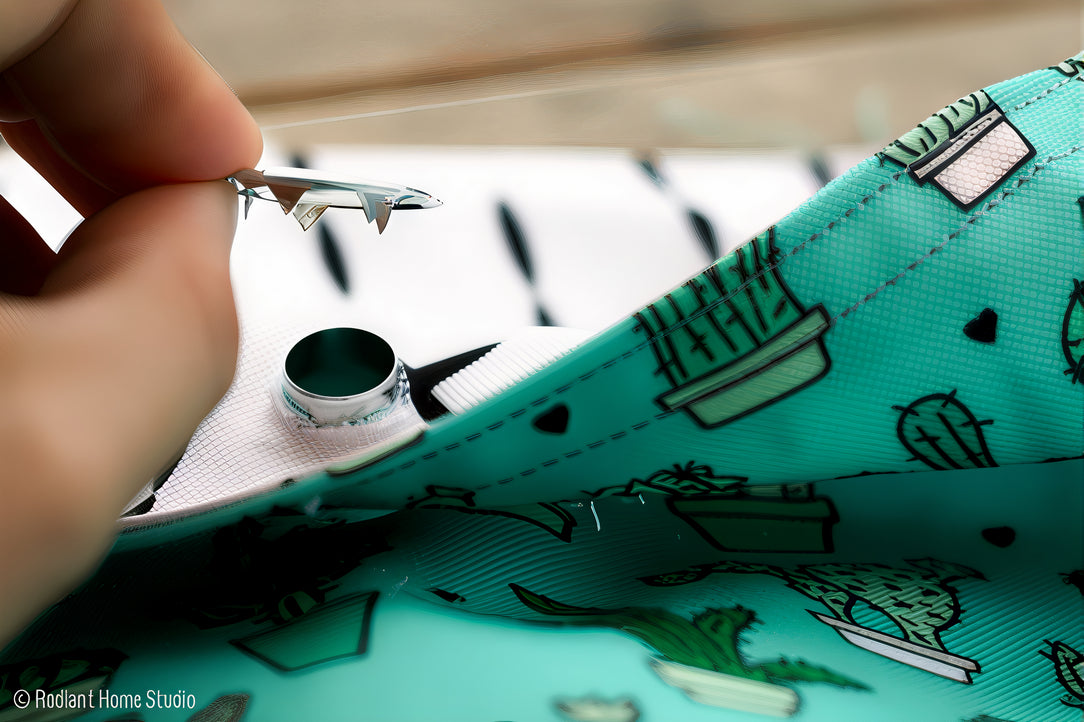
18. To insert the eyelets, you need to cut a small hole the size of the inner circle. First, fold your fabric and carefully cut a hole (through both layers) in the center of the circle.
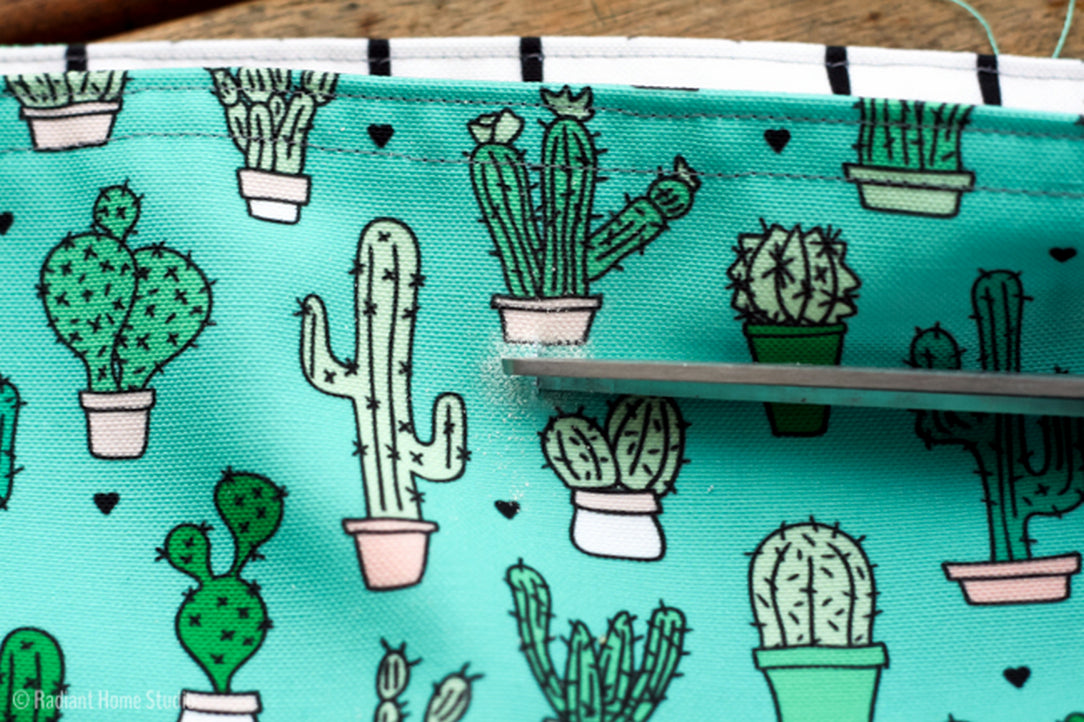
19. Cut perpendicular to this cut, forming a small plus sign (+). Then cut out the area in the center. It doesn't need to be a perfect circle. And remember, it's always better to make a hole too small than too big!
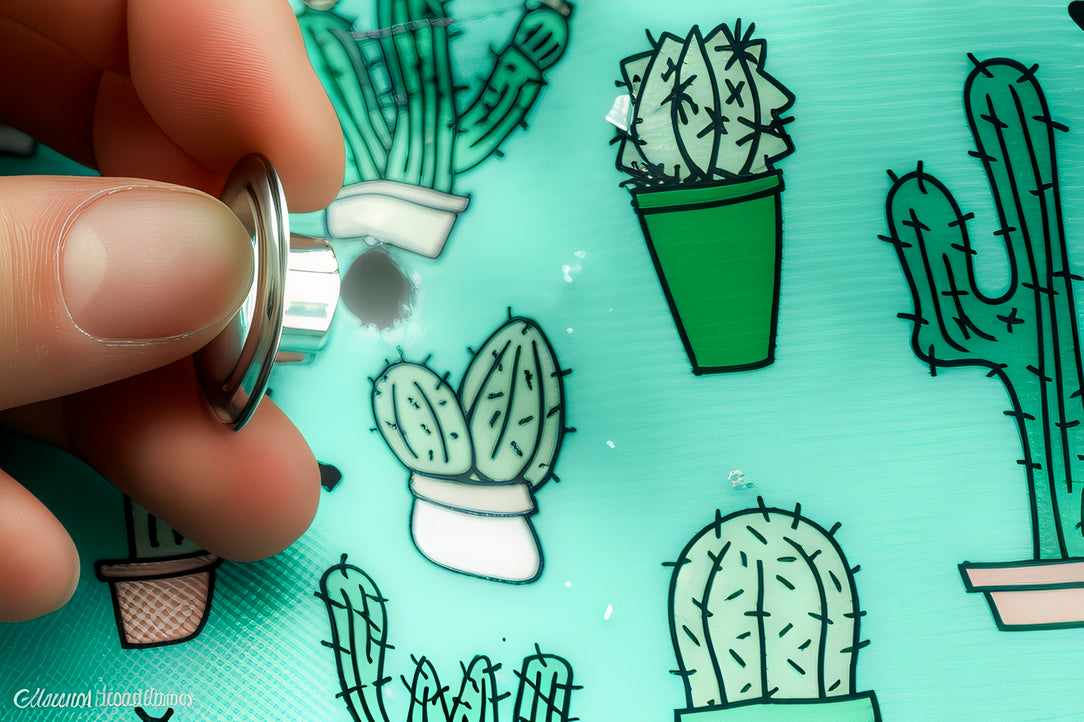
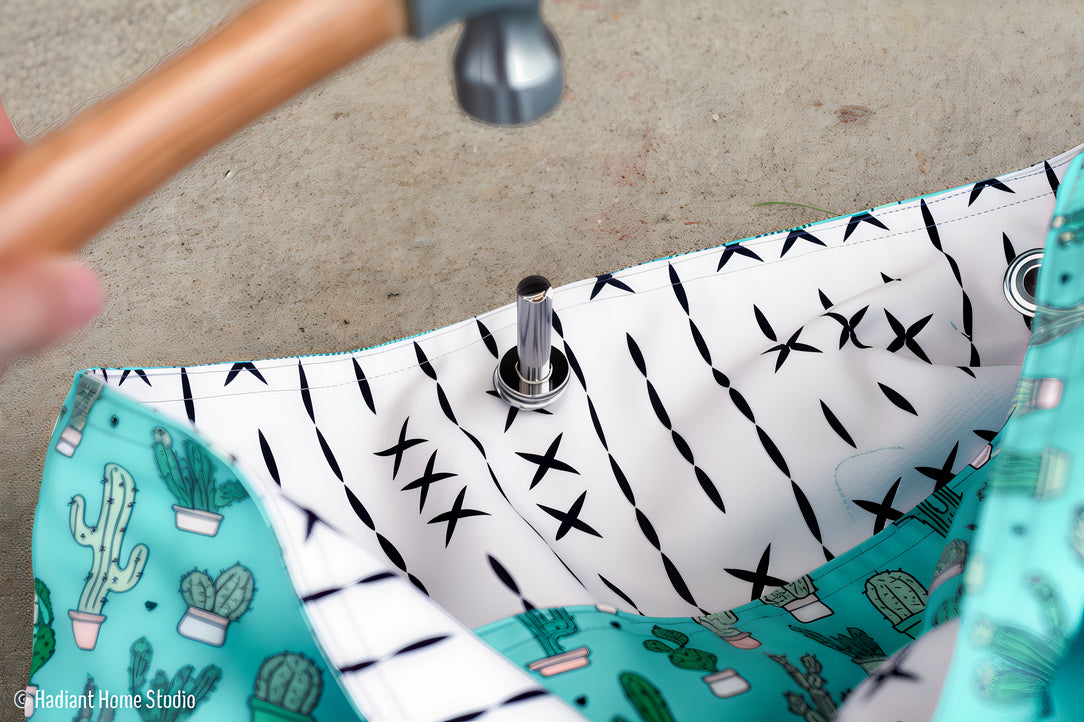
20. Push the dowel into the hole.
21. Turn the fabric over and slide the washer (toothed side down) onto the stud.
22. Place the anvil on a hard surface (preferably concrete, which will likely require you to go outside), resting the dowel side of the eyelet on the anvil. Place the tool in the hole and give it a few hammer blows.
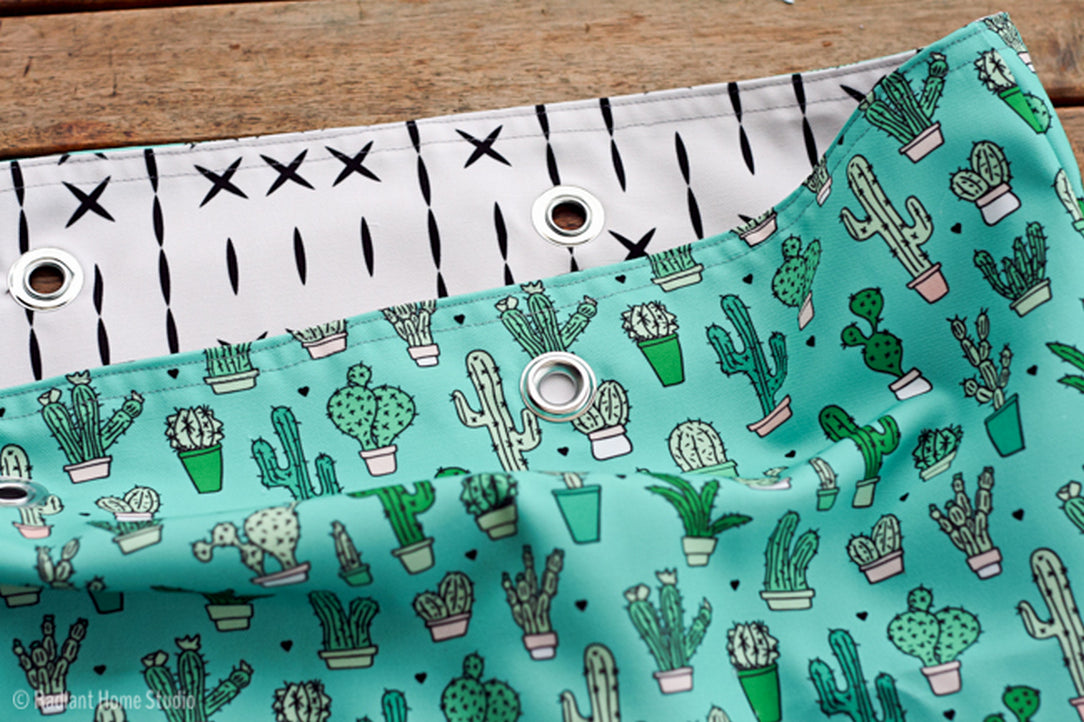
23. Repeat the process for the four carnations.
24. Decide on the length of your handles. I used 76 cm of rope for each handle, but you can make them longer or shorter depending on your preference. Insert one end of your rope into an eyelet on the inside.
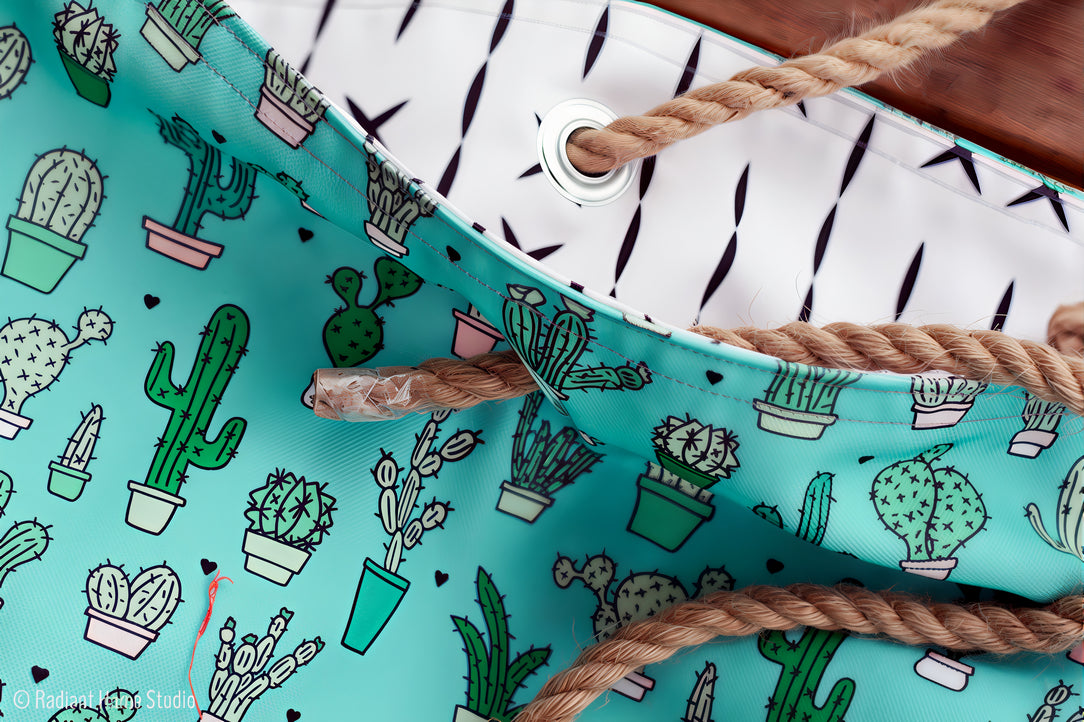
25. Tie a knot and tighten it.
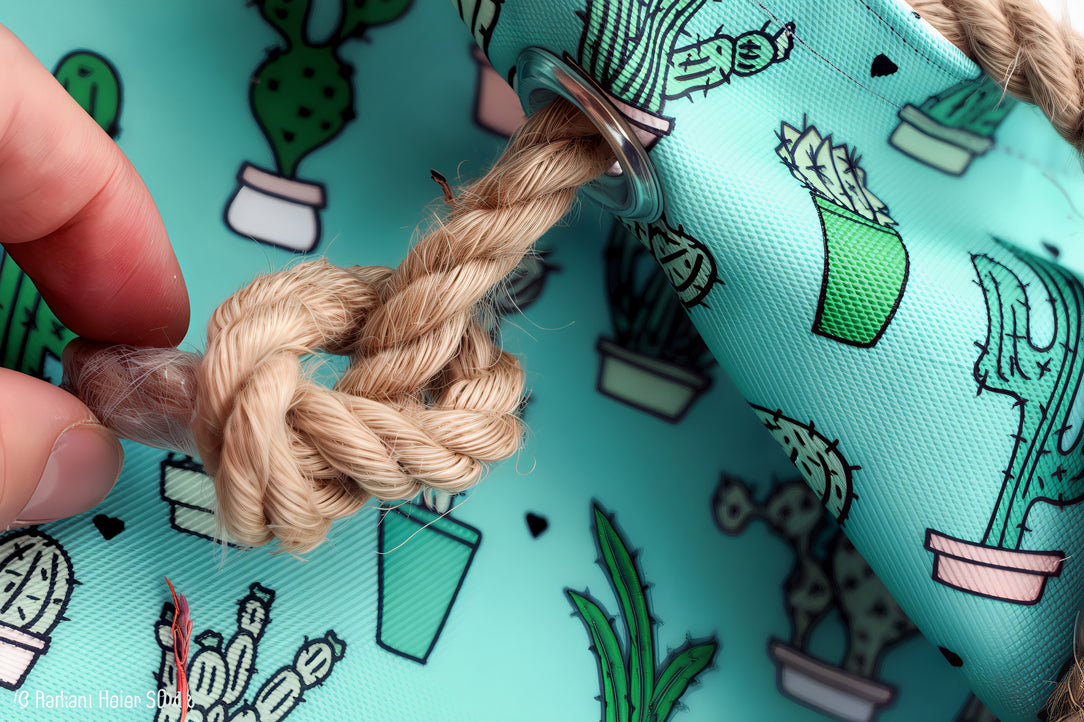
26. Before tying the final knot, make sure the handle lengths are equal. You don't want to be carrying a bag crooked after all that hard work!
27. Almost finished! Don't forget to close the small opening in the lining by hand with a few stitches.
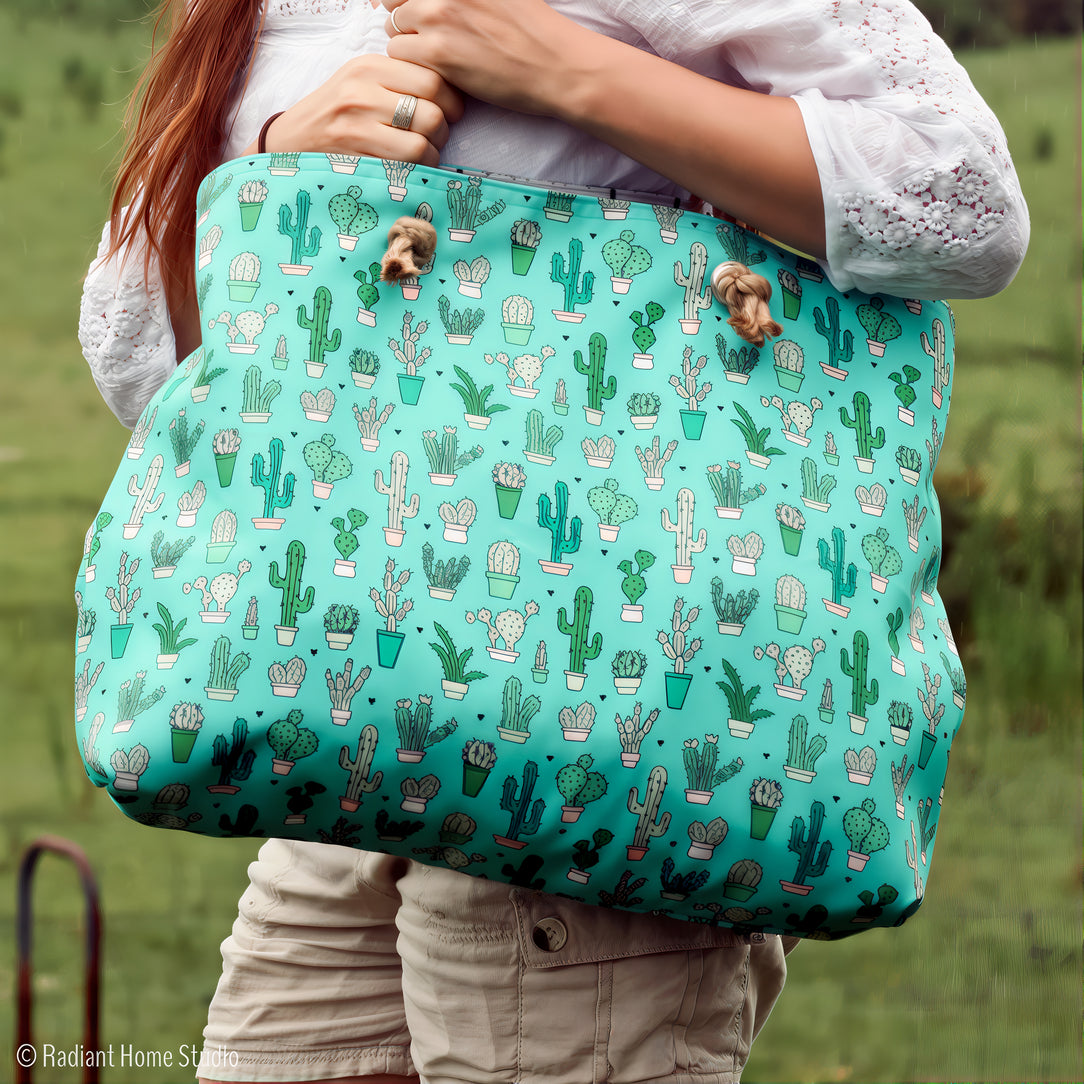
And there you have it, your beach bag is ready to use! Thanks to this step-by-step guide, you now know how to make a practical, sturdy, and completely personalized tote bag . Whether for days at the seaside, picnics, or simply to carry your belongings in style, this handmade bag will go everywhere with you.
Don't hesitate to play with colors, patterns, or textures to create a unique design that reflects your style. And if you enjoyed this project, why not sew a second one as a gift? A beautiful handmade bag always makes a great impression!
Happy sewing and have a wonderful, creative summer! 🧵🌞